安装java
sudo apt-get install openjdk-8-jdk安装elasticsearch
下载
https://www.elastic.co/cn/downloads/elasticsearch
wget https://artifacts.elastic.co/downloads/elasticsearch/elasticsearch-7.4.0-amd64.deb安装
sudo dpkg -i elasticsearch-7.4.0-amd64.deb程序位置 /usr/share/elasticsearch/
配置文件 /etc/elasticsearch/elasticsearch.yml
启动es
service elasticsearch start测试
curl http://localhost:9200/返回
{
  "name" : "fscshare",
  "cluster_name" : "elasticsearch",
  "cluster_uuid" : "jwNw7I-sSvevCWg9p-ibsg",
  "version" : {
    "number" : "7.4.0",
    "build_flavor" : "default",
    "build_type" : "deb",
    "build_hash" : "22e1767283e61a198cb4db791ea66e3f11ab9910",
    "build_date" : "2019-09-27T08:36:48.569419Z",
    "build_snapshot" : false,
    "lucene_version" : "8.2.0",
    "minimum_wire_compatibility_version" : "6.8.0",
    "minimum_index_compatibility_version" : "6.0.0-beta1"
  },
  "tagline" : "You Know, for Search"
}
及安装正确。
停止es (按需要)
cat /var/run/elasticsearch/elasticsearch.pid  && echo # 获得pid
sudo kill -SIGTERM 81937
Kibana (按需要)
为了能够可视化es中的数据并操作es
下载
https://www.elastic.co/cn/downloads/kibana
wget https://artifacts.elastic.co/downloads/kibana/kibana-7.4.0-amd64.deb安装
sudo dpkg -i kibana-7.4.0-amd64.deb位置 /usr/share/kibana/
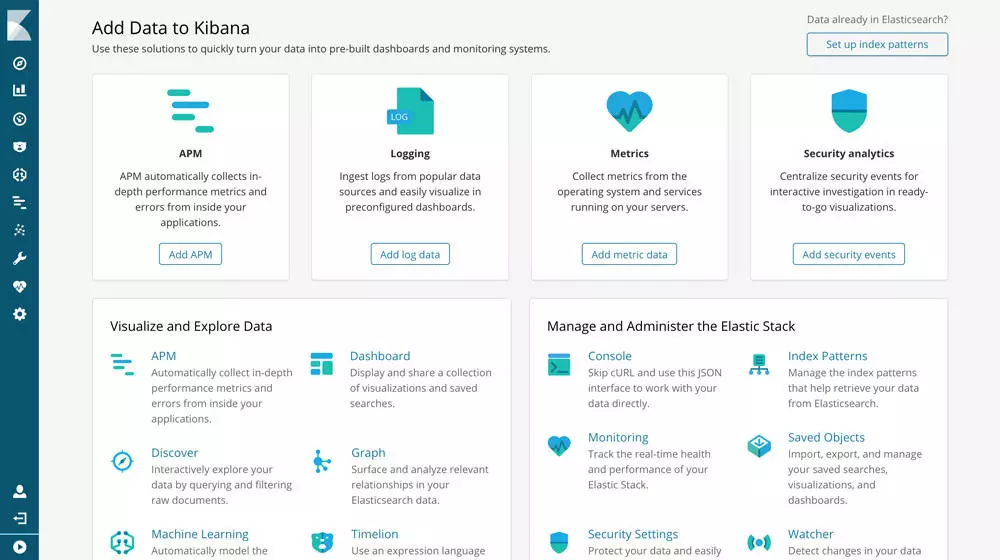
启动 /usr/share/kibana/bin/kibana
访问 http://localhost:5601
安装RabbitMQ
sudo apt-get update -y
sudo apt-get install -y rabbitmq-server
sudo service rabbitmq-server start
辅助方法
# stop the local node
sudo service rabbitmq-server stop
# start it back
sudo service rabbitmq-server start
# check on service status as observed by service manager

sudo service rabbitmq-server status
RabbitMQ 添加用户
测试配置如下
sudo rabbitmq-plugins enable rabbitmq_management
sudo rabbitmqctl add_vhost /hyperion
sudo rabbitmqctl add_user my_user my_password
sudo rabbitmqctl set_user_tags my_user administrator
sudo rabbitmqctl set_permissions -p /hyperion my_user ".*" ".*" ".*"
安装Redis
sudo apt update
sudo apt install redis-server
辅助方法
sudo service redis restart
sudo systemctl status redis
安装 Node.js v12.x
# Using Ubuntu
curl -sL https://deb.nodesource.com/setup_12.x | sudo -E bash -
sudo apt-get install -y nodejs
安装PM2
sudo npm install pm2@latest -g安装Nodeos 1.8.4 w/ 并开启 state_history_plugin and chain_api_plugin
wget https://github.com/eosio/eos/releases/download/v1.8.4/eosio_1.8.4-1-ubuntu-18.04_amd64.deb
sudo apt install ./eosio_1.8.4-1-ubuntu-18.04_amd64.deb
nodeos --config-dir ~/eosio/chain/config --genesis-json ~/eosio/chain/config/genesis.json --data-dir ~/eosio/chain/data -e -p eosio --plugin eosio::chain_api_plugin --plugin eosio::state_history_plugin --disable-replay-opts --chain-state-history --trace-history --delete-all-blocksClone & Install Hyperion-History-API
git clone https://github.com/bcskill/Hyperion-History-API.git
cd Hyperion-History-API
npm install
修改配置
cp example-ecosystem.config.js ecosystem.config.jsvi ecosystem.config.js
module.exports = {
    apps: [
        {
            name: "Indexer",
            script: "./launcher.js",
            node_args: ["--max-old-space-size=8192"],
            autorestart: false,
            kill_timeout: 3600,
            env: {
                AMQP_HOST: '127.0.0.1:5672',
                AMQP_USER: 'my_user',
                AMQP_PASS: 'my_password',
                REDIS_HOST: '127.0.0.1',
                REDIS_PORT: '6379',
                ES_HOST: '127.0.0.1:9200',
                NODEOS_HTTP: 'http://127.0.0.1:8888',
                NODEOS_WS: 'ws://127.0.0.1:8080',
                START_ON: 0,
                STOP_ON: 0,
                REWRITE: 'false',
                BATCH_SIZE: 5000,
                LIVE_READER: 'false',
                LIVE_ONLY: 'false',
                FETCH_BLOCK: 'false',
                FETCH_TRACES: 'false',
                CHAIN: 'eos',
                CREATE_INDICES: 'v1',
                PREVIEW: 'false',
                DISABLE_READING: 'false',
                READERS: 1,
                DESERIALIZERS: 1,
                DS_MULT: 1,
                ES_INDEXERS_PER_QUEUE: 1,
                ES_ACT_QUEUES: 1,
                READ_PREFETCH: 50,
                BLOCK_PREFETCH: 100,
                INDEX_PREFETCH: 500,
                ENABLE_INDEXING: 'true',
                PROC_DELTAS: 'true',
                INDEX_DELTAS: 'true',
                INDEX_ALL_DELTAS: 'false',
                ABI_CACHE_MODE: 'false',
                ACCOUNT_STATE: 'false',
                VOTERS_STATE: 'false',
                USERRES_STATE: 'false',
                DELBAND_STATE: 'false',
                REPAIR_MODE: 'false',
                DEBUG: 'false'
            }
        },
        {
            name: 'API',
            script: "./api/api-loader.js",
            exec_mode: 'cluster',
            merge_logs: true,
            instances: 4,
            autorestart: true,
            exp_backoff_restart_delay: 100,
            watch: ["api"],
            env: {
                AMQP_HOST: "localhost:5672",
                AMQP_USER: "my_user",
                AMQP_PASS: "my_password",
                REDIS_HOST: '127.0.0.1',
                REDIS_PORT: '6379',
                SERVER_PORT: '7000',
                SERVER_NAME: 'example.com',
                SERVER_ADDR: '127.0.0.1',
                NODEOS_HTTP: 'http://127.0.0.1:8888',
                ES_HOST: '127.0.0.1:9200',
                CHAIN: 'eos'
            }
        }
    ]
};
启动
Starting
pm2 start --only Indexer --update-env
pm2 logs Indexer
Stopping
// Stop reading and wait for queues to flush

pm2 trigger Indexer stop
Force stop
pm2 stop IndexerStarting the API node
pm2 start --only API --update-env
pm2 logs API
测试
curl -X GET "http://127.0.0.1:7000/health" -H "accept: */*"返回
{
    "health": [{
        "service": "RabbitMq",
        "status": "OK",
        "time": 1571055356654
    }, {
        "service": "Redis",
        "status": "OK",
        "time": 1571055356655
    }, {
        "service": "Elasticsearch",
        "status": "OK",
        "time": 1571055356656
    }]
}
参考
https://github.com/eosrio/Hyperion-History-API
https://www.jianshu.com/p/7200cd17d8cb
https://www.rabbitmq.com/install-debian.html
https://wangxin1248.github.io/linux/2018/07/ubuntu18.04-install-redis.html
https://pm2.keymetrics.io/docs/usage/quick-start/
https://github.com/EOSIO/eos/issues/6334